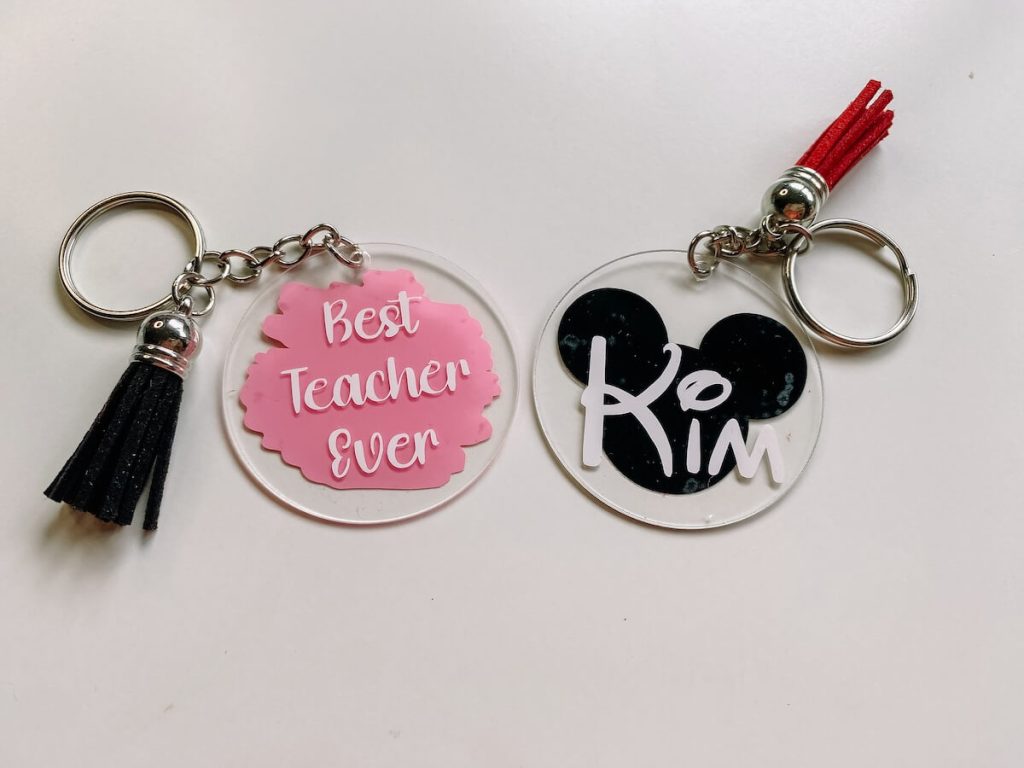
In the world of personalized accessories, acrylic keychains stand out as a trendy and customizable option. Creating your own acrylic keychain not only adds a personal touch to your belongings but also allows you to unleash your creativity. In this step-by-step guide, we’ll take you through the process of making your own DIY acrylic keychain. Get ready to explore your artistic side and craft a unique accessory that reflects your style.
Step 1: Design Your Keychain
Before you start crafting, take some time to plan your keychain design. You can either sketch it on paper or use graphic design software for a digital version. Consider personalizing it with your initials, favorite quotes, or unique symbols. Keep in mind that simplicity often works best for keychain designs.
Step 2: Choose Your Acrylic Sheet
Select the acrylic sheet color that complements your design. Clear acrylic allows for a classic and transparent look, while colored sheets can add a pop of vibrancy. Ensure that the acrylic sheet is of sufficient thickness for durability.
Step 3: Cut the Acrylic Sheet
Using a craft knife or acrylic cutter, carefully cut the acrylic sheet according to your design. If you’re new to cutting acrylic, start with simple shapes. For intricate designs, consider using stencils or templates to guide your cuts. Take your time to achieve clean and precise edges.
Step 4: Sand the Edges
To smooth out any rough edges from the cutting process, use sandpaper with different grits. Start with a coarse grit and gradually move to finer grits for a polished finish. This step is crucial for giving your keychain a professional look and preventing any sharp edges.
Step 5: Add Your Design
Now comes the fun part – decorating your keychain! Use permanent markers or acrylic paint to add your chosen design to the acrylic sheet. If you’re using markers, let each layer dry before adding another to prevent smudging. Experiment with colors and patterns to bring your vision to life.
Step 6: Drill a Hole for the Keychain Ring
Locate the spot where you want to attach the keychain ring and drill a small hole using a drill with a bit suitable for acrylic. Take care not to crack the acrylic sheet – gentle pressure is key. Alternatively, you can use a hole punch tool for a smaller hole.
Step 7: Attach Keychain Ring
Insert the keychain ring through the drilled hole. If you want to add extra flair, use jump rings to attach charms or beads. This step not only enhances the aesthetic but also makes your keychain more dynamic.
Step 8: Optional: Lobster Clasp
For added functionality, you can attach a lobster clasp to your keychain. This allows you to easily attach and detach it from bags, zippers, or other accessories. Use jump rings to connect the lobster clasp to the keychain ring.
Conclusion:
Congratulations! You’ve successfully crafted your own personalized acrylic keychain. This DIY project not only allows you to express your creativity but also gives you a unique accessory to showcase. Whether you make them as gifts for friends or create a collection for yourself, these custom acrylic keychains are sure to make a statement wherever you go. Have fun experimenting with different designs and colors to create the perfect keychain that reflects your individual style.
